Dermaplaning at home has become the latest buzzword in the beauty world. If you've ever wondered how celebrities maintain that flawless, glowing complexion without spending a fortune, dermaplaning might just be the answer. This simple yet powerful skincare technique involves using a specialized tool to gently exfoliate the skin and remove dead cells, leaving your face looking smoother, brighter, and more radiant. But can you really achieve professional results from the comfort of your own home? Let’s dive in and find out!
Let’s face it—skincare routines have gone through some serious upgrades over the years. From masks that look like they’re straight out of a horror movie to gadgets that sound like they belong in a sci-fi novel, there’s no shortage of options when it comes to pampering yourself. But here’s the kicker: not all treatments are created equal. Some can be pricey, time-consuming, or even intimidating. That’s where dermaplaning steps into the spotlight. It’s easy, effective, and surprisingly affordable.
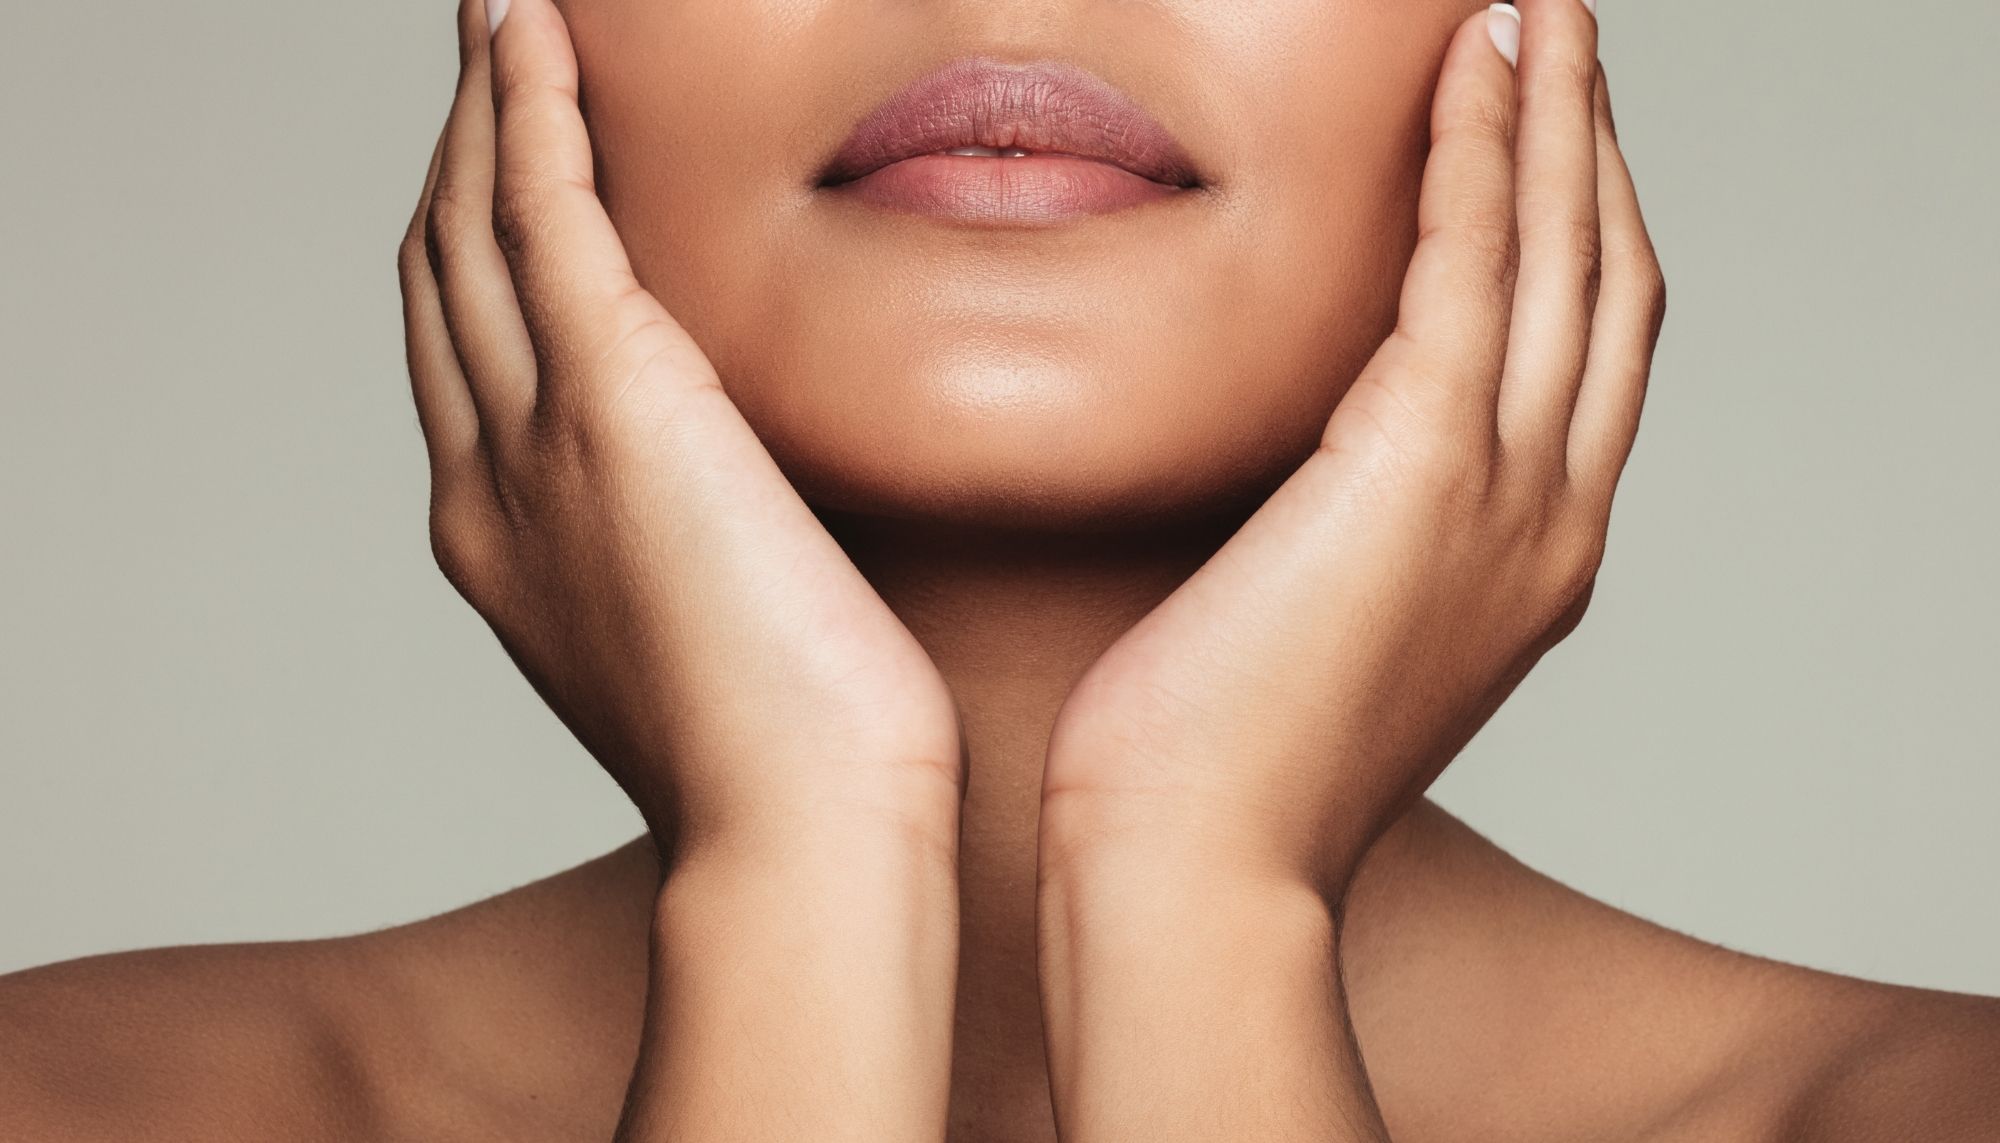
Now, before we get too far ahead of ourselves, let’s talk about why dermaplaning is worth considering. Imagine walking into a room and turning heads because your skin looks like it’s glowing from within. No filters, no heavy makeup—just pure, natural radiance. Sounds too good to be true? Well, it’s not. With the right tools and techniques, you can achieve salon-quality results without ever leaving your bathroom. So, grab your favorite face mask (the edible kind), and let’s explore the world of dermaplaning at home!
Read also:Noah Beck Nudes The Truth Behind The Clickbait And The Reality Of Online Sensations
What Is Dermaplaning?
Dermaplaning is essentially a physical exfoliation technique that uses a small, sterile blade to gently scrape away the top layer of dead skin cells and vellus hair (aka peach fuzz). It’s like giving your skin a fresh start, revealing smoother, softer skin underneath. Traditionally, this procedure was performed by licensed estheticians in professional settings, but thanks to advancements in skincare technology, you can now enjoy similar benefits right at home.
Here’s the lowdown on why people are obsessed with dermaplaning: it’s quick, painless, and delivers visible results almost instantly. Unlike chemical peels or microdermabrasion, dermaplaning doesn’t irritate the skin, making it suitable for most skin types. Plus, it helps enhance the absorption of skincare products, meaning your serums and moisturizers will work harder and better after a session.
Why Choose Dermaplaning at Home?
Let’s be real—visiting a spa or dermatologist for regular treatments can add up quickly. Not to mention, finding time to fit these appointments into your already busy schedule can feel like a full-time job. Enter dermaplaning at home: the perfect solution for those who want professional-grade results without the hassle or expense.
Here are a few reasons why going DIY with dermaplaning makes sense:
- Cost-Effective: A single dermaplaning tool can last for multiple sessions, saving you money in the long run.
- Convenience: No need to book appointments or travel to a salon—just pop into your bathroom whenever you have a free moment.
- Customizable: You know your skin better than anyone else, so you can tailor the treatment to suit your specific needs.
And if you’re thinking, “But what about the risk of cutting myself?” don’t worry—we’ll cover safety tips later on. For now, just know that with the right guidance, dermaplaning at home can be as safe as it is effective.
Benefits of Dermaplaning at Home
So, what exactly can you expect from incorporating dermaplaning into your skincare routine? The benefits are numerous, and they extend beyond just improving the appearance of your skin. Here’s a breakdown of the top advantages:
Read also:Liangelo Ball Song Lyrics The Ultimate Guide To The Melodies That Defined A Basketball Legacy
1. Smoother, Brighter Skin
By removing the outer layer of dead skin cells, dermaplaning instantly improves the texture and tone of your complexion. Say goodbye to dullness and hello to a healthier, more radiant glow.
2. Reduced Appearance of Fine Lines and Wrinkles
Exfoliation stimulates cell turnover, which can help reduce the visibility of fine lines and wrinkles over time. Think of it as a natural facelift for your skin.
3. Enhanced Product Absorption
One of the biggest perks of dermaplaning is that it allows your skincare products to penetrate deeper into the skin. This means your favorite serums and creams will work more effectively, giving you better results.
4. No More Peach Fuzz
Dermaplaning removes vellus hair, leaving your skin feeling baby-soft and fuzz-free. And no, it won’t grow back thicker or darker—another common misconception debunked!
How to Dermaplane at Home Safely
Now that you’re sold on the idea of dermaplaning at home, let’s talk about how to do it safely and effectively. Follow these step-by-step instructions to ensure a smooth and successful experience:
Step 1: Cleanse Your Skin
Start by washing your face with a gentle cleanser to remove any dirt, oil, or makeup. This ensures a clean surface for dermaplaning and reduces the risk of irritation.
Step 2: Prep Your Tools
Make sure your dermaplaning tool is clean and sterile before use. Some tools come with disposable blades, while others require regular cleaning. Always follow the manufacturer’s instructions for best results.
Step 3: Begin Dermaplaning
Hold the tool at a 45-degree angle and gently glide it across your skin in short, upward strokes. Start with the forehead, then move to the cheeks, chin, and neck. Avoid sensitive areas like the eye region.
Step 4: Moisturize and Protect
After dermaplaning, apply a soothing moisturizer to hydrate your skin and lock in moisture. Follow up with a broad-spectrum sunscreen to protect your newly exfoliated skin from UV damage.
Pro tip: Dermaplane once every two to four weeks to maintain results without over-exfoliating.
Common Myths About Dermaplaning
There are plenty of myths floating around about dermaplaning, especially when it comes to DIY treatments. Let’s clear up some of the most common misconceptions:
Myth 1: Dermaplaning Causes Hair to Grow Back Thicker
This is one of the biggest fears people have about dermaplaning, but it’s completely unfounded. Vellus hair is naturally fine and light, and removing it doesn’t change its structure or growth pattern. What you’re seeing is simply the stubble phase, which can make the hair appear thicker temporarily.
Myth 2: Dermaplaning Hurts
When done correctly, dermaplaning should feel like a soft, gentle scrape across the skin. If you experience any discomfort, you’re probably applying too much pressure. Stick to light, even strokes for a pain-free experience.
Myth 3: Anyone Can Dermaplane
While dermaplaning is generally safe for most skin types, it’s not suitable for everyone. Those with active acne, rosacea, or other skin conditions should consult a dermatologist before trying it at home.
Best Tools for Dermaplaning at Home
Not all dermaplaning tools are created equal. Here are some top picks to consider:
- The Dermaflash Luxe: A popular choice among skincare enthusiasts, this electric device offers precise exfoliation and hair removal.
- The Venus Epil Silk-Epil X: While primarily designed for hair removal, this versatile tool can also be used for gentle dermaplaning.
- Manual Dermaplaning Razors: For those who prefer a more traditional approach, manual razors like the Kate Somerville ExfoliKate Dermaflash Razor are a great option.
When choosing a tool, consider factors like ease of use, blade durability, and overall value for money. Reading customer reviews can also provide valuable insights into which products perform best.
Tips for Maintaining Results
Dermaplaning is just one piece of the skincare puzzle. To truly maximize its benefits, you need to incorporate it into a well-rounded routine. Here are some tips for maintaining healthy, glowing skin:
1. Stick to a Consistent Schedule
Dermaplaning once every two to four weeks is ideal for most people. Over-exfoliating can lead to irritation and dryness, so be mindful of how often you’re treating your skin.
2. Use Gentle Skincare Products
After dermaplaning, your skin is more sensitive, so avoid harsh chemicals or abrasive scrubs. Opt for gentle, nourishing products that hydrate and protect.
3. Protect Against Sun Damage
Exfoliated skin is more prone to sunburn, so wearing sunscreen daily is non-negotiable. Look for a broad-spectrum formula with at least SPF 30 for optimal protection.
Conclusion: Embrace the Power of Dermaplaning at Home
Dermaplaning at home offers a convenient, cost-effective way to achieve salon-quality results in the comfort of your own space. By understanding the benefits, following proper techniques, and maintaining a consistent routine, you can enjoy smoother, brighter skin that turns heads wherever you go.
So, what are you waiting for? Grab your dermaplaning tool, roll up your sleeves, and get ready to transform your skincare game. And remember, if you found this article helpful, don’t forget to share it with your friends or leave a comment below. Together, let’s spread the word about the wonders of dermaplaning!
Table of Contents